

Creating one
1
Go to Your account
In Settings → Your account, under Instances, tap New instance.
2
Give it a name
For example “Work”, “Family” or your project’s name. Tap Next.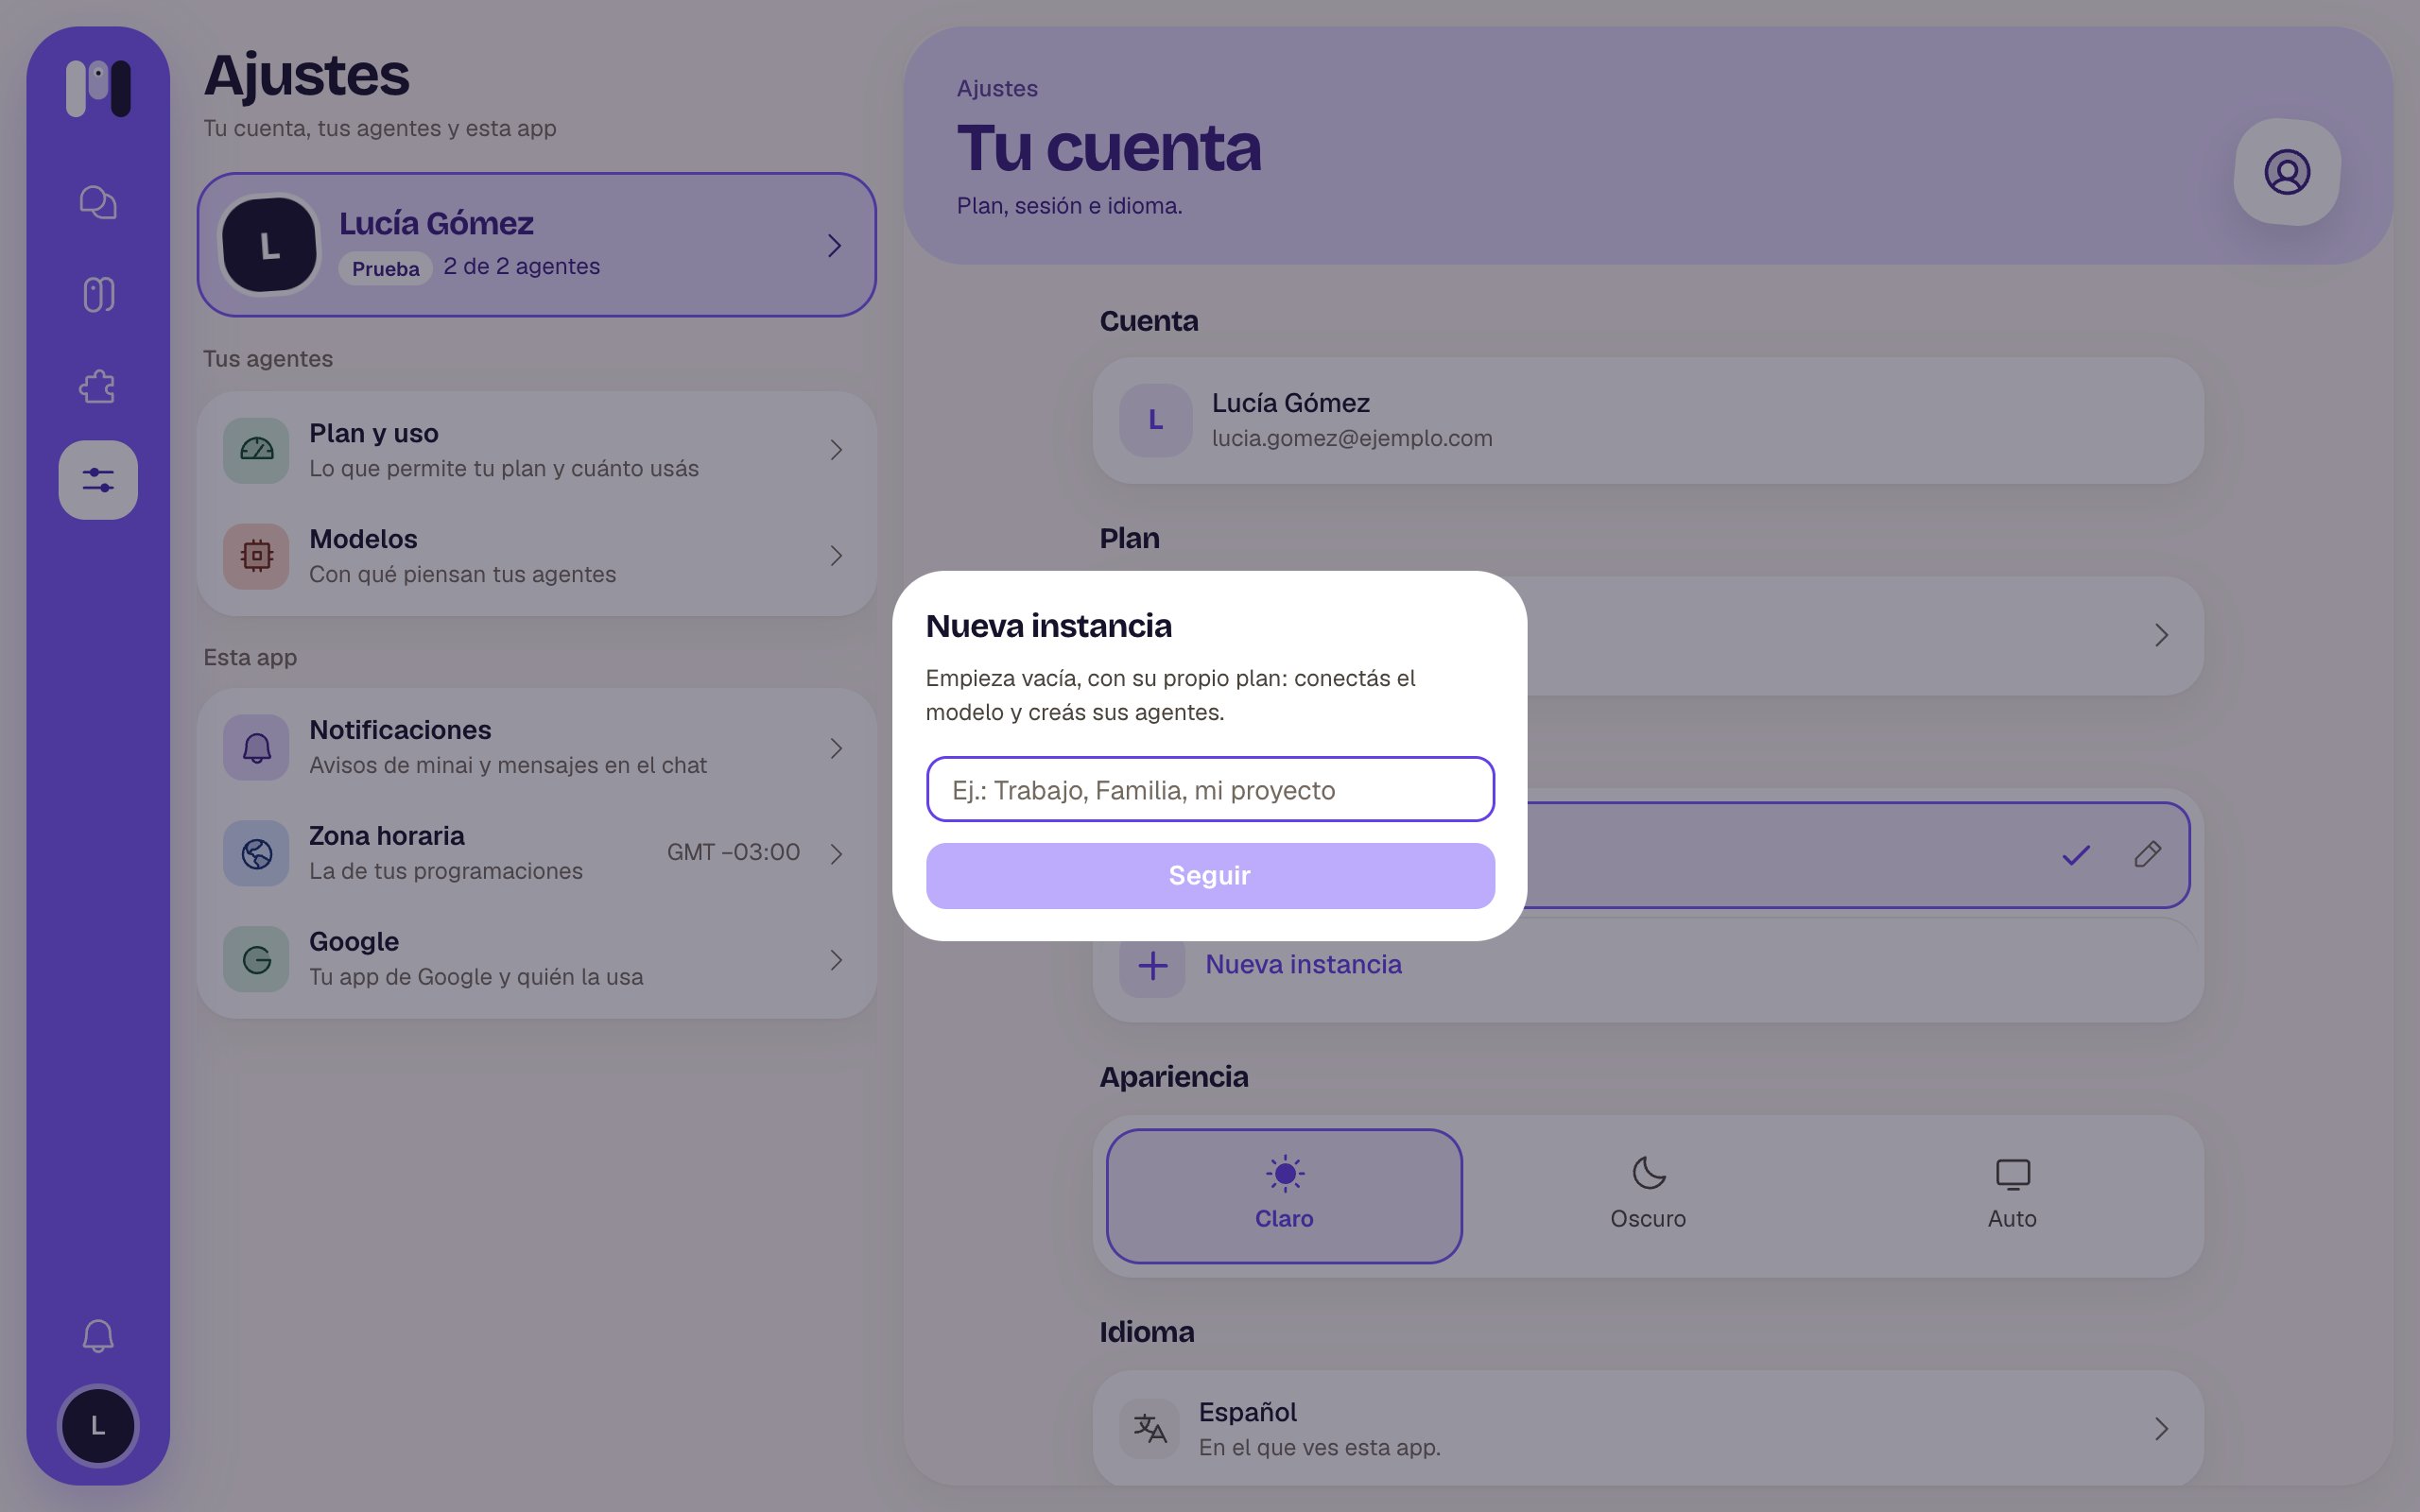
3
Choose its plan and pay
Each instance has its own plan. The free trial is once per person, so a new instance starts on a paid plan. Once the payment is confirmed, minai switches you to the new instance.
4
Set it up from scratch
It starts empty: you connect the AI and create its agents.
Switching between them
- On a computer: tap the instance’s little square, under the minai logo.
- On your phone: tap the logo, at the top left.
- Always: in Settings → Your account → Instances, tap the one you want.
Editing it
In Settings → Your account → Instances, tap the current instance’s pencil to change its Name, the icon’s Letters (up to two) and the color.An instance belongs to one person and isn’t shared. For several people to talk to an agent, create a group agent.